
If you are wondering how to silk press hair, achieving a sleek and glossy silk press hair style no longer needs to be limited to the salon. With a little practice and the best silk press products for 4c hair, you can achieve a professional-quality silk hair pressing right in the comfort of your own home. In this blog post, we will guide you through the silk press steps, silk press products for black hair, techniques, and secrets to accomplishing a great silk press and flawless silk press for sleek, healthy, and shiny hair.
A silk press is a heat styling technique that transforms natural curls and works with your unique curl pattern to achieve straight hair while celebrating your natural texture. It is a popular alternative to a chemical relaxer, allowing you to achieve the look of relaxed hair without harsh chemicals, and helps maintain the health and beauty of your natural curls. If you are wondering how do you do a silk press, read on for everything you need to know.
To achieve flawless results when you successful silk press 4c hair, there are a few key silk press hair products that you will need for your basic silk press kit for natural hair. Investing in high-quality tools, such as a titanium flat iron, is important for achieving the best results, as titanium plates distribute heat more evenly than ceramic.
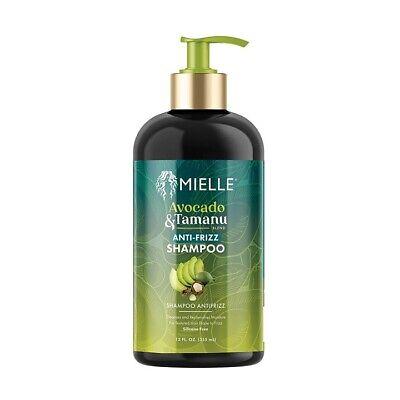
Clarifying Silk Press shampoo: This is essential to remove any product buildup or residue from the hair, providing a clean foundation for the silk press for natural hair. Removing buildup before starting the silk press process ensures optimal results and prevents heat damage.
Deep Conditioner: Use a deep conditioner after shampooing to moisturize and strengthen your hair, helping to prevent heat damage and achieve a sleek, shiny finish.
Moisturizing Conditioner: Look for a frizz fighting conditioner that helps to hydrate and nourish the hair, leaving it soft and manageable.
Lightweight Leave-In Conditioner: Apply a lightweight leave-in conditioner after washing and before heat styling to provide moisture, slip, and protection without weighing hair down.
Wide-Tooth Comb: Use a wide-tooth comb to gently detangle damp hair after washing and conditioning, minimizing breakage and preparing hair for smooth styling.
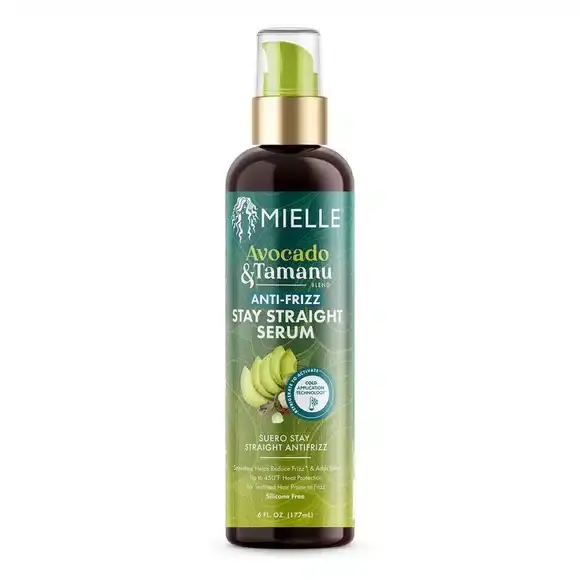
Heat Protectant: This is crucial to shield your hair from heat damage in a natural silk press. Look for a lightweight silk press spray or serum such as biosilk for silk press and the best silk press oil designed specifically for heat protection and for the best hair silk press.
Paddle Brush: A paddle brush is ideal for smoothing and stretching textured hair during blow drying, helping to achieve a sleek, polished finish and providing tension control.
Blow Dryer: A good quality blow dryer with adjustable heat settings will help to blow dry your hair quickly and evenly for a good silk press blowout. Attach a comb attachment to guide the hair in small sections for even drying and straightening, and use a concentrator nozzle to focus airflow and control heat precisely for smooth results.
Light Oil or Lightweight Serum: Use a light oil or lightweight serum before or after heat styling to add shine, reduce frizz, and enhance moisture without weighing the hair down.
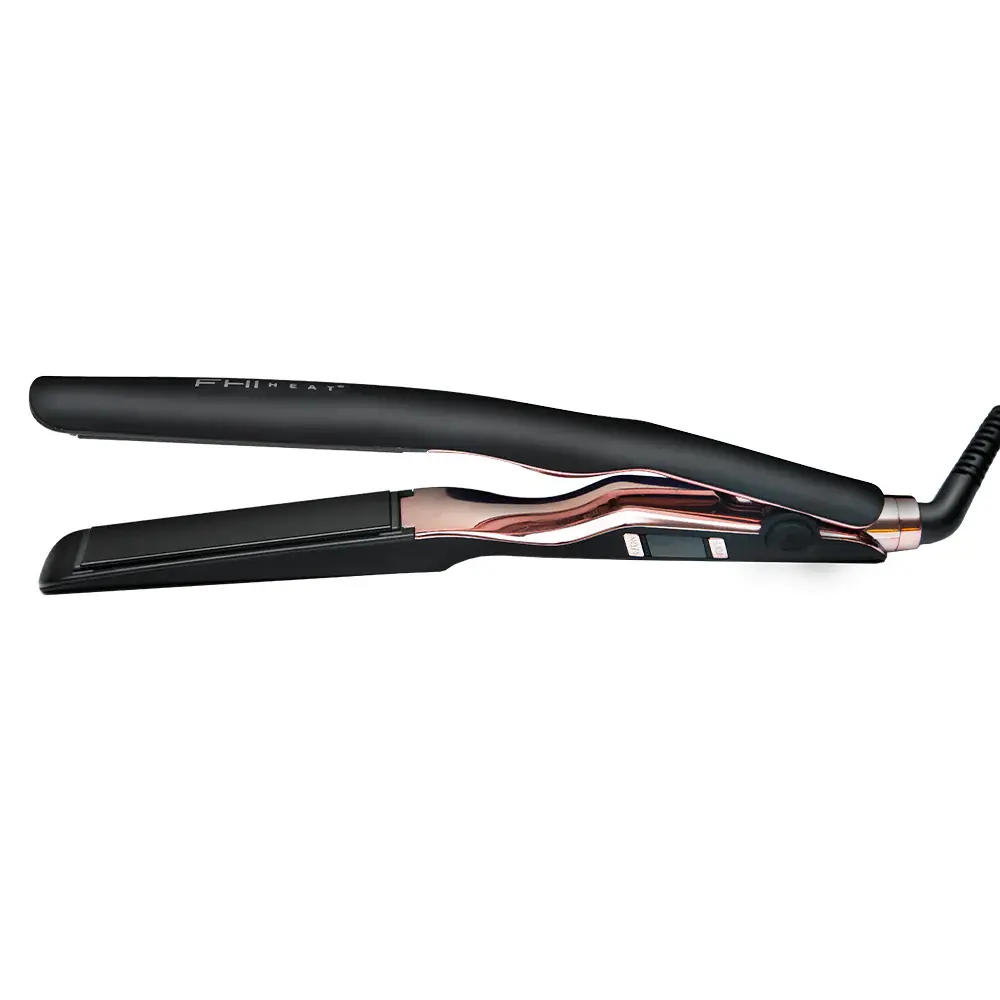
Titanium Flat Iron: Invest in a high-quality titanium flat iron with temperature control to optimize the silk press natural hair process. Titanium plates distribute heat more evenly than ceramic, helping to achieve smooth, damage-free silk presses and straightening results. My favorite flat iron to use is the FHI Curve pro straightening iron because of the shine it emits on the hair. If you are wondering how to do a silk press on natural hair and pressed natural hair, a titanium flat iron is highly recommended.
The technique of a 4c hair silk press involves straightening natural or textured hair using advanced heat tools, such as ceramic or titanium flat irons and quality blow dryers with attachments, to achieve smooth, sleek, and shiny results while minimizing heat damage.
If you are wondering what is a silk press? A silk press is a more advanced technique specifically designed for natural hair textures, compared to standard flat ironing. While flat ironing is a quicker process that may skip essential steps like deep conditioning and proper heat protection, a silk press emphasizes thorough preparation—including washing, conditioning, and using heat protectants—to achieve smoother, shinier, and more lightweight hair. In this article, we will explore the process and benefits of a silk hair press, silk press curly as well as silk press tips for maintaining silk press results.
Understanding the 4c Hair Silk Press Technique:
If you are wondering how to silk press natural hair, the silk pressing hair technique is not just about straightening the hair; it is about obtaining a luxurious, silky-smooth finish. The process begins with a gentle cleansing and conditioning to ensure the hair is adequately hydrated and prepared for styling. Key steps in the silk press process include washing, detangling, and using heat protectants.
Next, the hair is sectioned and blow-dried using proper heat tools. Blow drying is performed with the tension method, which involves holding the hair taut while directing high heat or low heat from the blow dryer along the hair shaft. This helps stretch the hair, achieve straighter roots, and reduces the number of passes needed with the flat iron.
Once you have completely dry hair, it is time for the flat iron to work its magic. When flat ironing, work in small sections—typically about ¼-inch—to ensure even heat distribution and minimize the risk of damage. The stylist carefully glides the iron slowly down the hair shaft, starting from the roots to the ends, using the chase method.
The chase method involves placing a fine-tooth comb in front of the flat iron to help detangle hair and ensure even heat distribution, which contributes to a sleek finish and minimizes heat damage. It is important to use just enough heat—avoiding too much heat or unnecessary high heat—to smooth out the hair without causing excessive damage. Using low heat when possible helps maintain the hair’s health and style longevity. Always use a heat protectant spray to safeguard the hair from heat damage, and remember that slowly gliding the flat iron down the hair shaft helps achieve a smooth, kink-free result.
Achieves smooth, sleek, and shiny straight hair: The 4c hair silk press technique tames unruly hair, leaving hair straight, silky, and radiant. Silk presses typically result in smoother, shinier, and more lightweight hair compared to traditional flat ironing, which may yield stiffer results. How long does a silk press last? It provides a sleek finish and press last for weeks with proper care.
Versatility: Unlike chemical straightening methods, the professional silk press can be a temporary treatment that allows you to switch back to your natural texture whenever you desire. The silk press does not permanently alter your natural curl pattern, so you can easily revert to your original curls.
Retains moisture: With proper application and silk press maintenance, a silk press can help seal in moisture, making it a suitable option for those with dry or damaged hair.
To extend the longevity of your silk press, it’s important to follow a few maintenance tips:
Wrap your hair nightly with a silk or satin scarf and use a satin pillowcase: Both a silk or satin scarf and a satin pillowcase help reduce friction, which preserves your silk press sleek look and prevents frizz. This combination is key for proper maintenance and helps maintain your style overnight.
Nightly maintenance is crucial: For the first 48 hours after your silk press, avoid moisture to help maintain the style’s integrity. Protect your hair from humidity, sweat, and water during this period.
Keep your hair moisturized and use protective styles: Regularly moisturize your hair to prevent dryness and maintain shine. Incorporate protective style options, such as loose buns or pin curls, to prolong your silk press and keep your hair healthy.
Avoid heat damage: Limit heat reapplication between silk press sessions and always use proper heat settings to protect your hair’s health.
Wait 6 to 8 weeks between silk press sessions: Most professionals recommend waiting around 6 to 8 weeks between sessions to allow your hair to recover and minimize heat damage.
Protect your hair from moisture, friction, and disturbances: Maintaining a silk press involves shielding your hair from moisture, friction, and other disturbances to keep the style sleek and long-lasting.
The secret to a good silk press at home lies in proper preparation and execution. Here are some silk press steps and tips to keep in mind:
Silk press steps #1: Start with clean, well-conditioned hair to achieve optimal results. After washing, gently detangle your damp hair using a wide-tooth comb to prevent breakage and prepare it for styling.
Silk press steps #2: Apply a lightweight leave-in conditioner to provide moisture and slip without weighing your hair down. Next, apply a heat protectant thoroughly from roots to ends to create a protective barrier against heat damage before using any heat tools.
Silk press step #3: Use the silk press hair iron at the appropriate temperature for your hair type. Avoid using too much heat, as excessive heat can cause breakage and harm. Lower heat settings are recommended for fine or damaged hair, while higher temperatures may be necessary for coarser textures.
Silk press steps #4: Work in small sections to ensure thorough straightening and prevent missed areas and use a chasing comb.
Silk press steps #5: Be patient and take your time when straightening each section when learning how to silk press natural hair. Rushing can lead to uneven results or even damage.
Tip: For added shine and moisture, use a light oil or lightweight serum before or after heat styling to achieve a sleek, polished finish without weighing your hair down.
If you are wondering how to do a silk press, silk pressing is a popular hair styling technique that involves using heat to straighten natural or textured hair without the use of chemicals. It can create a sleek and smooth look, giving your hair a shiny and polished appearance. However, the time required for the proper silk press steps can vary based on several factors. In this article, we will explore how long a silk press on hair should typically take and the factors that can influence the duration.
1. Hair Length: The length of your hair plays a significant role in determining the time it takes to complete a silk press treatment. Generally, the longer the hair, the more time it will require to straighten. Shorter hair tends to be easier and faster to style, while longer hair may require multiple passes with the silk press straightener, resulting in a longer duration for the silk press steps.
2. Hair Thickness: The thickness of your hair is another crucial factor that affects the time required for a silk press. Thicker hair may take longer to straighten as it requires more effort and heat to effectively straighten each strand. Conversely, if you have fine or thin hair, a silk press on thin hair may require less time to achieve the desired results.
3. Hair Texture: The natural texture of your hair also plays a significant role in determining the duration of a silk press. Coarser and more tightly coiled hair textures like 4C may take longer to straighten compared to looser textures like 3A. The curlier the hair, the more time it may need to smooth out and straighten.
Average Time Range for a Silk Press:
On average, a silk press can take anywhere from 1 to 2 hours to complete. However, it’s important to note that this is merely an estimate and can vary based on individual circumstances. Some people with shorter, thinner hair may only require an hour, while others with longer, thicker, or more textured hair may need closer to two hours for a silk press on thin hair. Here are some more silk press steps:
Proper Hair Preparation: Before starting the silk press process, ensure your hair is clean, fully dry, and detangled. Use a clarifying shampoo to remove buildup and follow with a deep conditioner to nourish and strengthen your hair. This creates a clean, healthy foundation for your silk press.
Heat Protection: Protecting your hair against heat damage is crucial. These silk press steps are to apply a heat protectant spray or silk press serum before using any heated styling tools such as the blow dryer and flat iron. This silk press product will create a barrier between your hair and the heat, reducing the risk of damage.
Blow Drying: Blow dry your hair in small sections until it’s completely dry and stretched, using a comb attachment or paddle brush to help smooth the cuticle. Attach a concentrator nozzle to your blow dryer to focus airflow and achieve a sleek, polished finish.
Sectioning Technique: To ensure even and efficient straightening on a silk press on natural hair, divide your hair into small sections, typically ¼-inch. This allows for better control, even heat distribution, and thorough straightening of each strand for your silkpress.
Achieving a salon-quality silk press for home is completely within your reach by silk pressing natural hair. If you are wondering how to silk press hair, with good products for silk press styles, technique, and a little practice, you can transform your natural or textured hair into a sleek and beautiful style. Remember to choose high-quality good silk press products for your silk presses, protect your hair with a heat protectant, and follow the proper technique for each step in your beauty routine if you want to know how to silk press at home. With these tips, you’ll soon be rocking a stunning silk hair press and at home silk press from the comfort of your own home.
Hi, I’m Danian, the creator of Natalie Mochin’s Beauty Blog — a space dedicated to real, experience-based hair care tips, healthy hair advice, and hair growth inspiration. As a hairdresser in training, I share practical routines, product recommendations, and lessons from my hands-on salon experience — all fueled by my love for coffee, cats, and dogs.

Hi, I’m Danian, the creator of Natalie Mochin’s Beauty Blog — a space dedicated to real, experience-based hair care tips, healthy hair advice, and hair growth inspiration. As a hairdresser in training, I share practical routines, product recommendations, and lessons from my hands-on salon experience — all fueled by my love for coffee, cats, and dogs.

Hi, I’m Danian, the creator of Natalie Mochins Beauty Blog. As a hairdresser in training, I share practical routines, product recommendations for healthier hair from my hands-on salon experience- All fueled by my love for coffee and mochaccinos.
As a hair care enthusiast, I have discovered the best option for my hair in terms of maintenance and versatility. My strands are currently texturized
If you have curly hair, you already know the morning struggle — frizz, shrinkage, humidity, tangles. It’s exactly why keratin treatments have exploded in popularity.
Subscribe now to keep reading and get access to the full archive.